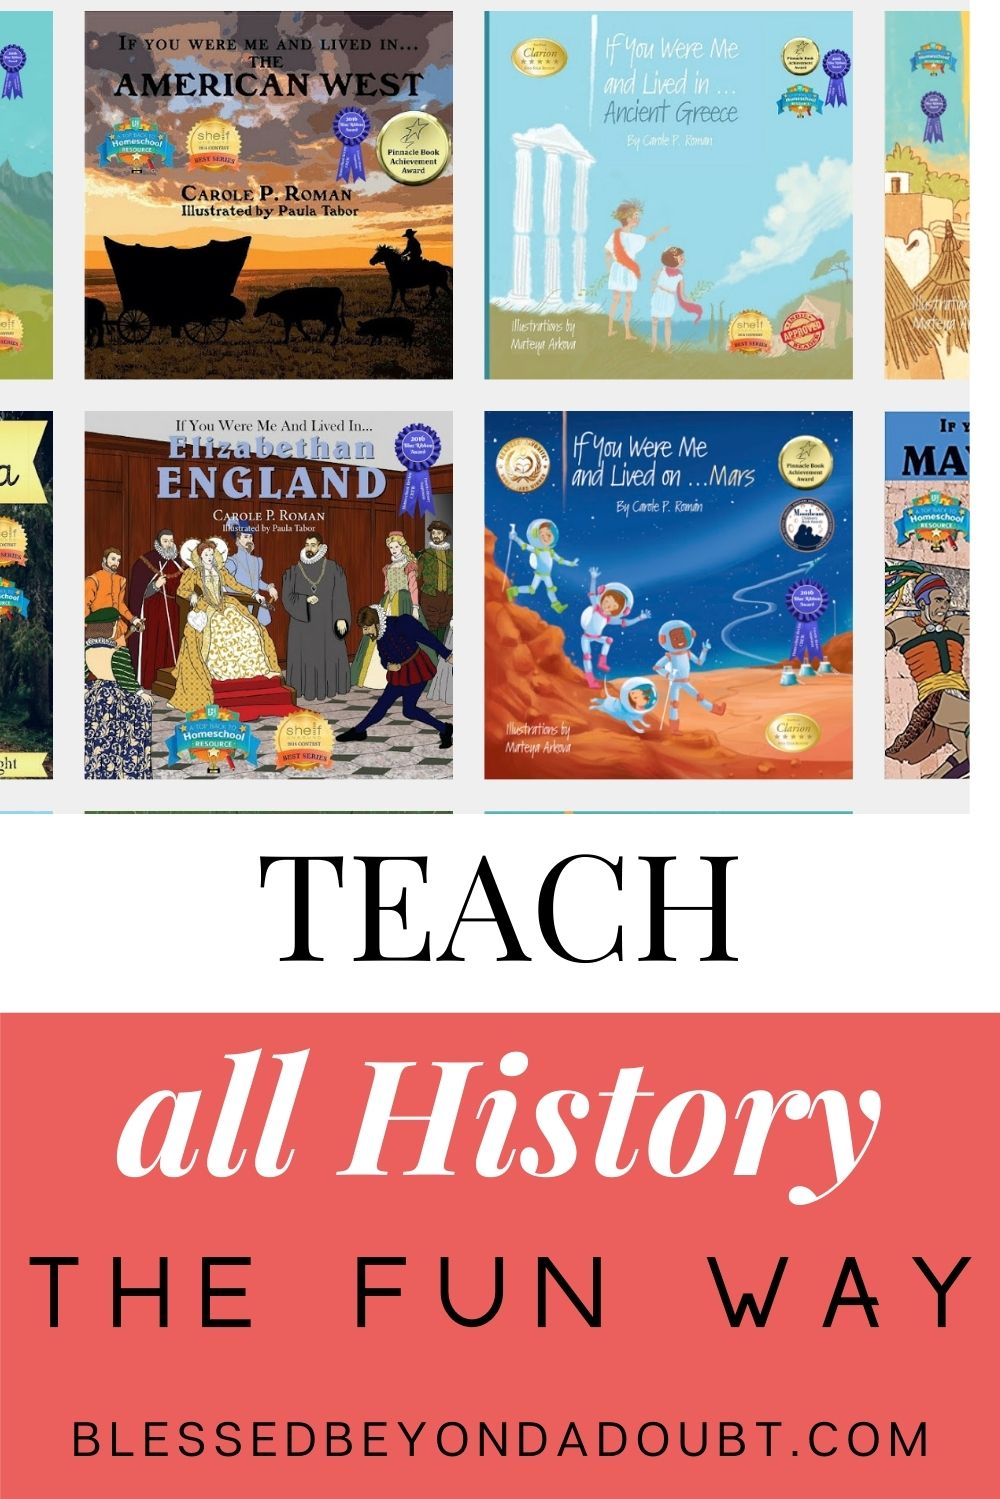
Our new homeschool year has been set up last month and it was a very long preparation. We prepare
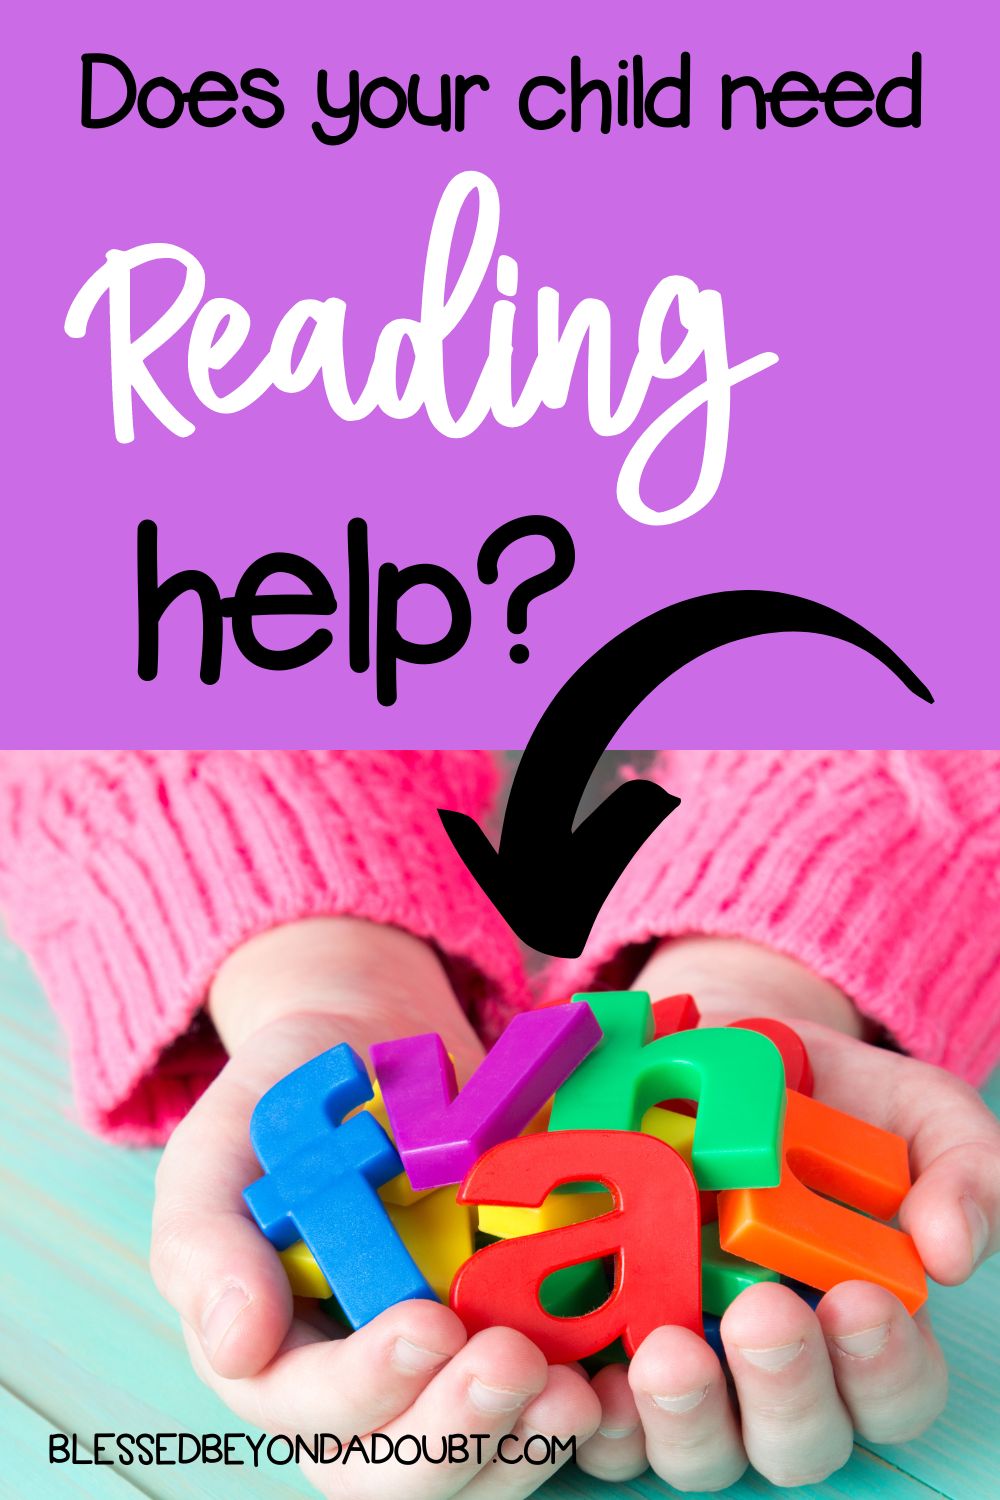
To support our curriculum work, we still use notebooking activities. We have been using notebooking activities since the first time we started our homeschooling formally three years ago. We just love doing notebooking together for several reasons. It might be very challenging to start narration in the notebooking activities, but we still feel that notebooking is a great activity for children.
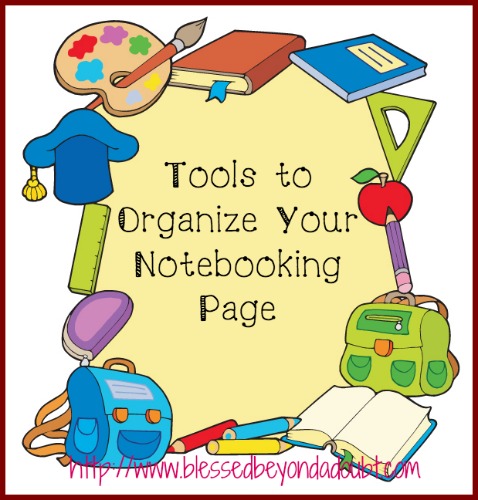
Although we still have some problems in notebooking, we try to minimize it by making better notebooking preparation from time to time. Here are our tools to prepare the organization of notebooking pages:
Different Kinds of paper
Colorful paper is going to be very useful for visual learners. We use this kind of paper for pages that need less drawing and coloring activities. Doodling can be done on the colorful paper.
White paper is used to encourage the children to be more creative in drawing and coloring. We sometimes use a combination between the colorful and white paper to create a 3D interactive notebooking. It means that we insert some mini books on the main notebooking pages.
Coloring and Drawing stationery
The colorful pencils and markers in various kinds will give more motivation for children to become more artistic in notebooking activities. Of course the decoration time usually should be after all the written content finishes. Even the comic notebooking will be just a draft before the handwritten content finishes.
Although each child has their own set of coloring pencils, we put the stationary in the middle of the big table to get children access easily. Thus, there are private and public properties.
Hole puncher
We have three kinds of hole punchers; the single, double and triple hole punchers. They are used to make holes on the paper before they are used. In the past time we use hole puncher after children filling in the notebooking pages to put inside the binder. However, we find that the using of hole puncher after the activities was not really good as the paper has already been folded a little here and there so that there was more possibility to get mispunching. Therefore, the children’s work becomes broken.
Binders
There are some kinds of binders based on the thickness and the number of rings. As I know there are binders with 2, 3, and 4 rings inside. We try to avoid using the 2 ringed binder as it makes the paper not straightly bound so that the hole will be torn easily and the lower side of the page tears or slips. Three ringed binders work better for us since it can hold the paper on both upper middle and lower left edge of the paper better. The four ringed binder should work better than the others, but the hole puncher costs very expensive for us.
The thickness of the binders is also various and it is adjusted to the need of each subjects.
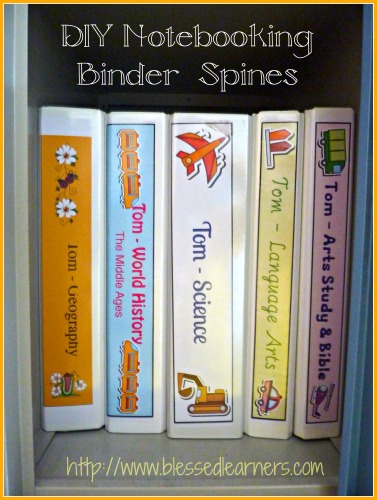
Binder spine
It is very boring to have binders with the same look. In addition, it will be difficult to differentiate one binder from another if the binders are stood upwards in the shelves or lockers.
I have never found any book store around me that sells binder spines separately. Therefore, we make our own binder spines to make our binders look more organized and tidy. You might read about Our DIY Binder Spines and get the blank version by Clicking the picture below:
Binder Cover
Binder cover can be variously made, depend on the preferences. It is better to ask kids or observe what they like so that kids can be more motivated when they look at the binder cover. You might also choose the cover based on the subjects filling in the binder. I suggest you to look up some cliparts in Teachers Pay Teachers, Teachers Nook and Etsy. As I said previously, matching the theme of binder cover and the spines will result on a better artistic value.
Document Keepers
I keep my blank notebooking page templates in the document keepers after they are hole punched. I prefer using document keeper rather than binders since it is more economical here. Each type of blank notebooking page template is kept in one pocket of document keeper or clear holder. However, I won’t put the finished notebooking pages in the document keeper or clear holder since it is too risky for kids to put in and out their finished work inside. There is also limited space for putting in kids works inside.
Plastic Protector
For some 3D and textured works, it is safer for us to keep them inside the plastic protector before they are kept in the binder so they will stay longer time.
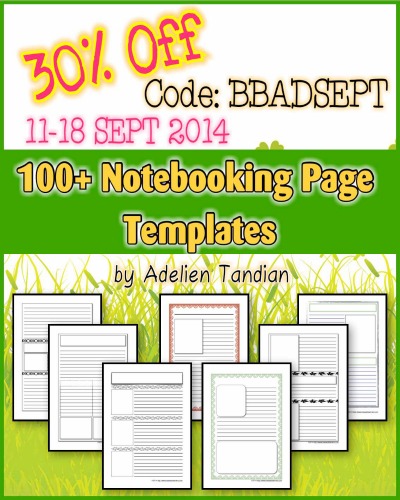
This week, I would like to provide a special coupon for Blessed Beyond a Doubt’s readers for purchasing my 100+ Notebooking Pages Templates as a thank for you all.
Use coupon code: BBADSEPT to get a special discount 30% from 11 – 18 September 2014
Click the picture bellow to visit the product. Don’t miss this great chance to provide your homeschooling activities of notebooking with a digital collection of 100+ Notebooking Page Templates so that notebooking becomes more engaging and exciting.
Leave A Comment